I made a couple of amateur mistakes while painting the inboard disk parts. I don’t have a well-ventilated area indoors, and my workshop is the basement of a raised ranch, with the master bedroom and kitchen directly above. So painting has to happen outdoors. Well, I put on the third coat of Fusion black on a windy, 47°F morning, surrounded by fallen leaves. Of course, the paint didn’t go on smoothly in the cold temperature, and by the time I got the parts back inside, an extensive coating of debris was embedded throughout the paint.
After all my careful prep, primer, and sanding back multiple coats, I was very angry with myself at this point. So angry, in fact, that I said screw it, ripped the masking off, and told myself I’d live with shoddily finished parts. But, after a couple of days to cool off (and the paint to get good and cured), I decided to see what difference a cut-and-buff might make. I picked up a selection of 1500-7000 grit wet/dry sandpaper and gave it a go.
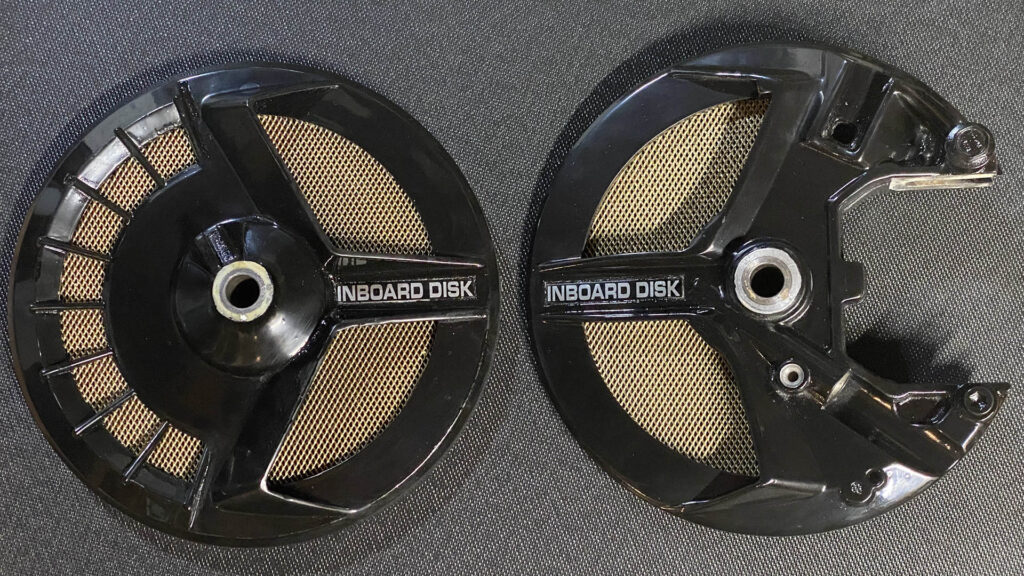
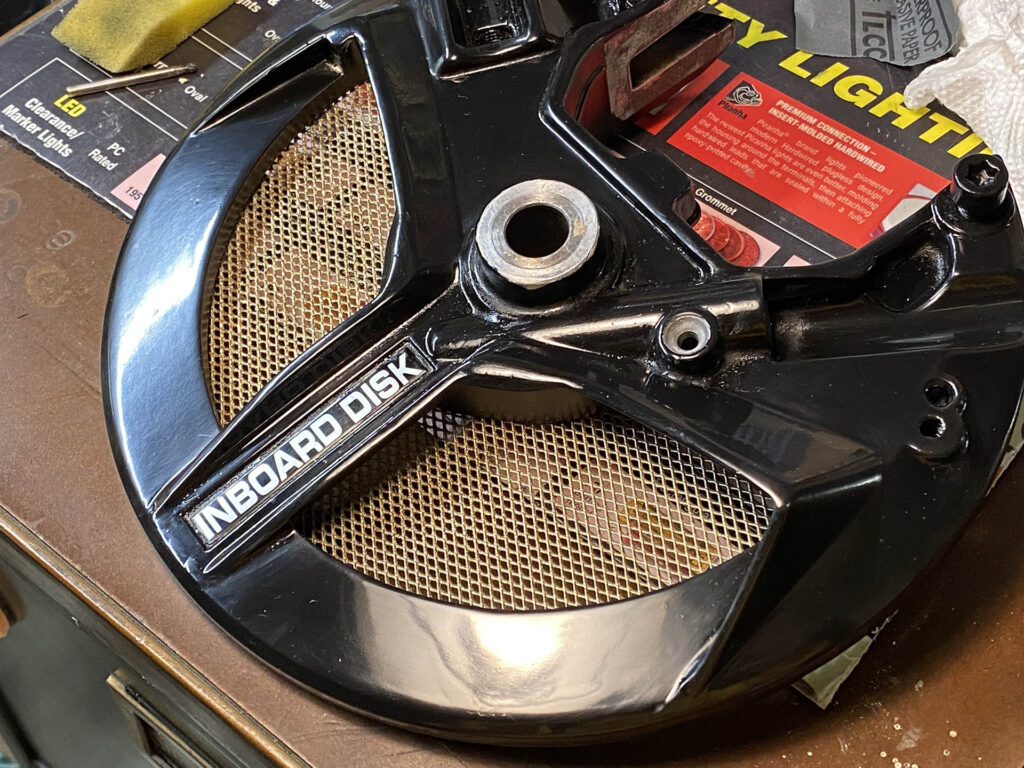
After about 3 hours of work wet sanding, polishing, then waxing, the result is far from perfect. But it’s better—acceptably better. If you look closely, there are definitely chunky zits here and there, but nothing like what it was. (Unfortunately, I was too dejected to take any “before” photos.) A real painter would be ashamed to show pictures like these, but I am super okay with the result so far. The gold screen turned out to be just the contrasting accent I wanted.
I have some dome-head buffing bits for the Dremel tool on the way, which should allow me to make the crud in the crevices less noticeable. But I am going to only do what I can without risk of blowing through the paint and having to start over. I’ve already had to touch up a couple of raised edges on the right-side plastic cover. I hate painting, and I am eager to move on to the next steps. Oh wait, that’s painting the front wheel and frame. Ugh.