Even though The Bride is being built out of salvage and cast-off parts, I’m genuinely attempting to engineer it properly and not half-ass anything. The swingarm bushings have been a nagging bit of half-assery that I was never comfortable with. As eager as I am to get the thing built, I decided there was no point in assembling a configuration I wasn’t confident in.
The issue results from my method of aligning the drive chain and rear wheel. To make room for the idler sprocket, I cut off a section of the swingarm pivot tube back in April of 2021. In order for the overall width to still match the inner pivot bushing, I simply added the part I cut off to the opposite side of the swingarm, along with a washer that was the same thickness of my hacksaw cut. I used three bushings: one on the left, one on the right with the flange removed and inserted into the swingarm itself, and a third one in the cut-off section that was now acting as a spacer.
This had some undesirable consequences:
- Load forces are moved towards the middle of the swingarm pivot bolt, farther away where the frame supports it. The 12mm pivot bolt the YZ125C swingarm uses is pretty wimpy to start with, so that’s no bueno.
- The swingarm bushings are now closer together, so they have less mechanical leverage to resist torsional and side-loading forces on the road. The spacer with its third bushing really isn’t going to do anything to help distribute these loads. The YZ125C bushings are just impregnated delrin, so they might not be able to cope with heavier loading.
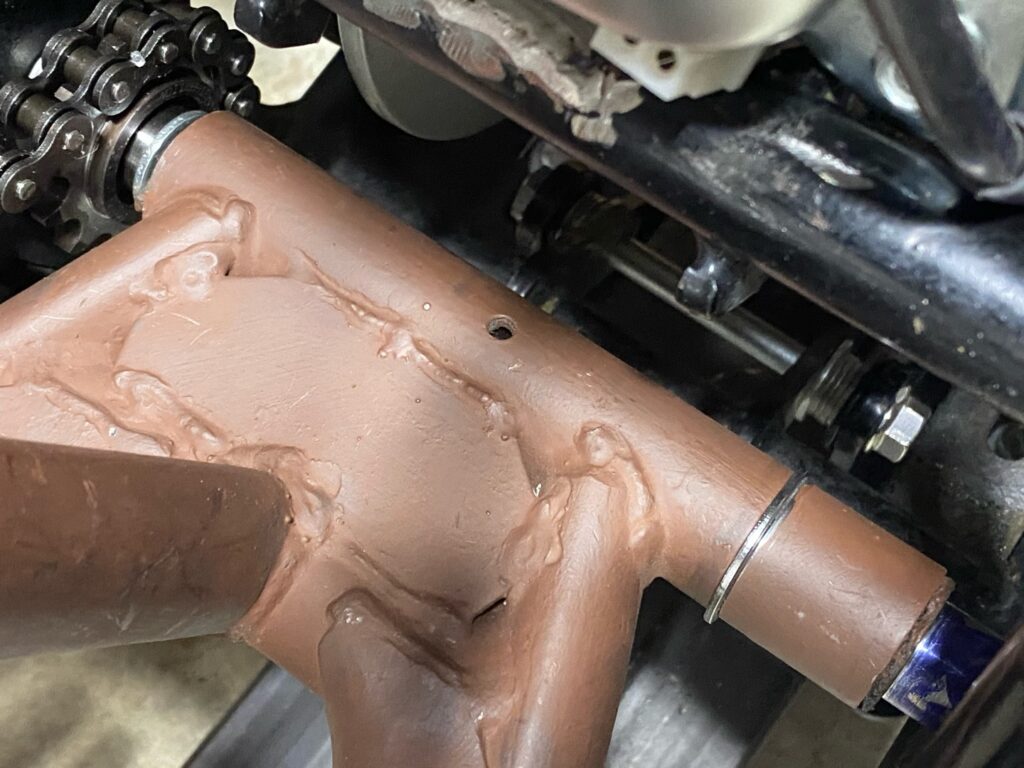
- Perhaps most critically, I had to reduce the width of the pivot bushings on both side by about half. The right-side bushing had to be reduced because the swingarm tube has a step in the ID that prevented the bushing from going in all the way. On the left side, the stock bushing could be inserted fully, but since it is now located closer to the centerline of the bike, much of it was now located inboard of the inner bush’s bearing surface. The green area in the following picture shows how little overlap there is between the relocated swingarm and the inner bush.
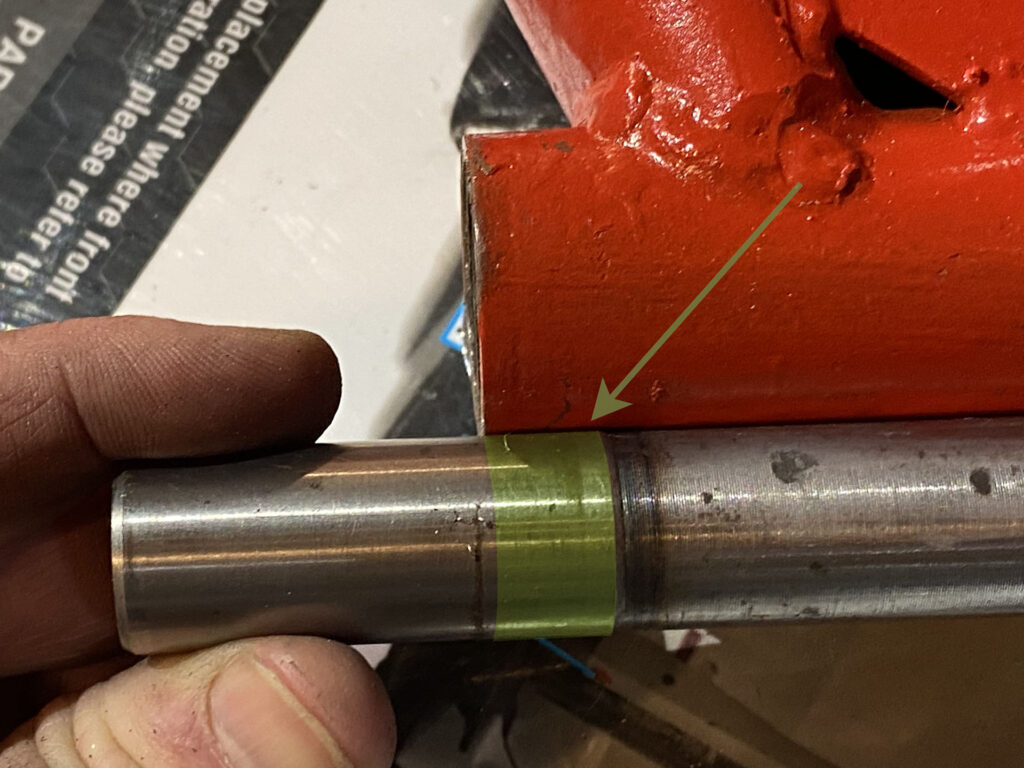
So, plastic bushings that weren’t all that robust to start with now would now be asked to distribute higher torque loads over only half the area. This did not give me a warm fuzzy feeling.
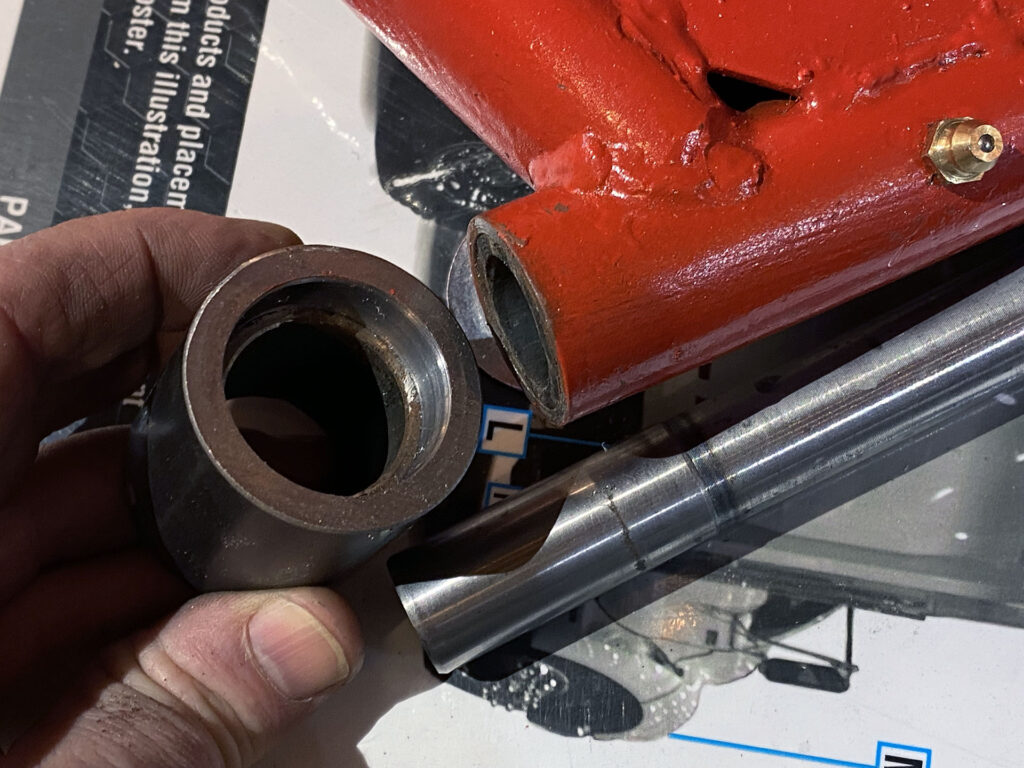
The OD of the swingarm pivot is a few thou over 1.125″. I had purchased a length of heavy steel tubing with a 1-1/8″ ID back when I first started dealing with this problem, with a slightly vague idea of securely re-attaching the cut-off length of swingarm. However, since I assumed it would require welding, I put it on the “deal with later” list and continued with other project tasks. Well, now that I’m ready for final assembly, there is no “later.” As I was painting the swingarm, I was telling myself that the status quo would be “good enough.” I mean, it felt pretty solid. Yet, all the time, the half-ass detector in the back of my mind was flashing persistently.
I resolved to finally solve the problem properly. I could strip the paint and send the swingarm to my welding guy. But then I had another idea: once the two parts are installed, they’re held firmly together in the frame. A tight press fit and a longer bushing would distribute the loads just fine.
So, this morning, I drew up a diagram, chucked up a hunk of steel tube, and set out to fashion a sleeve. I took just a few thou off the ID and squared the face, then added a slight clearance taper on one side and a bit of chamfer on both openings.
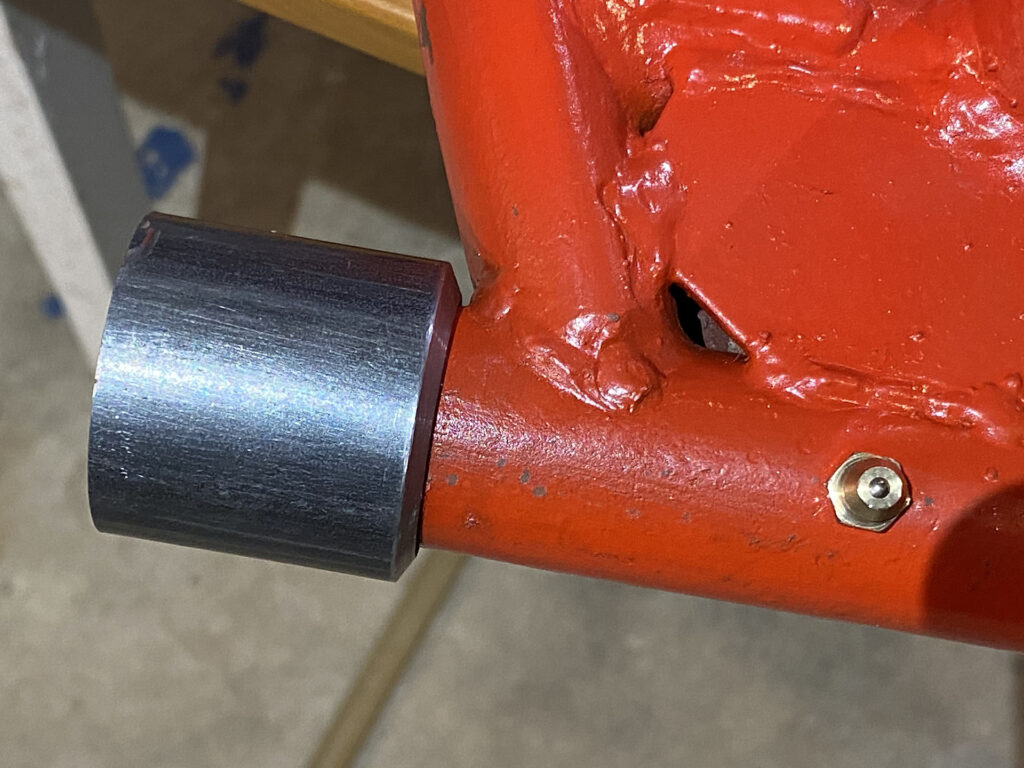
I used my hydraulic press to press the cut-off portion into the sleeve. I then re-inserted the delrin bushings for alignment on the (full-width) inner bush and pressed the sleeve onto the swingarm. (No, I didn’t sand the paint off first. I told myself it would act as an extra filler and bonding agent.) The resulting bore actually ended up true!
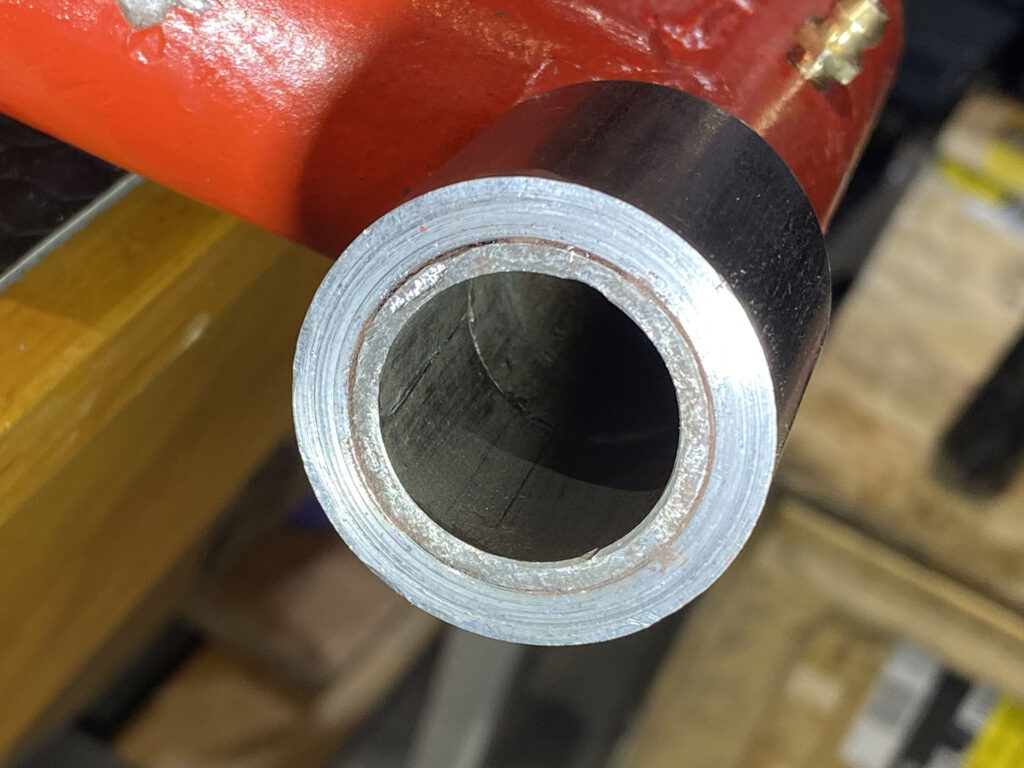
The press operations crushed the flanges on the delrin bushes, but they were destined for the trash bin anyway. I ordered a bronze bush for the left side, which I will turn down slightly on one end to match the step in the frame tube; only about 3–5 thou will need to come off. For the right side, I found a 50mm long bushing, which will extend well beyond the joint between pressed-on section and the swingarm tube itself. It will take several weeks to get the new bushings, so this will slow down the project a bit, but at least once it goes together it will be whole-ass.