I tried modifying my earlier steel battery box to fit my new, smaller battery. It turns out that not only can I not weld, I also cannot measure. The result was still larger than needed, and too big to fit the space available behind the engine.

To be fair, I didn’t want to shrink the size too much, because I knew I needed to leave room for some sort of cushion lining to prevent the steel edges from gouging the plastic battery housing.
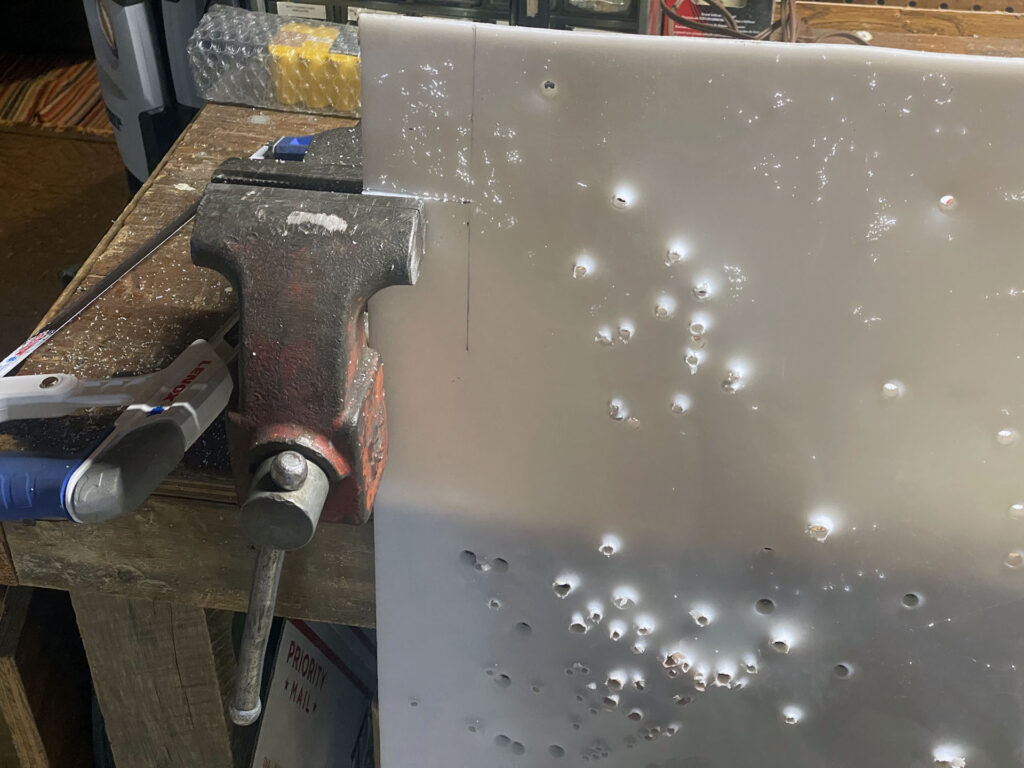
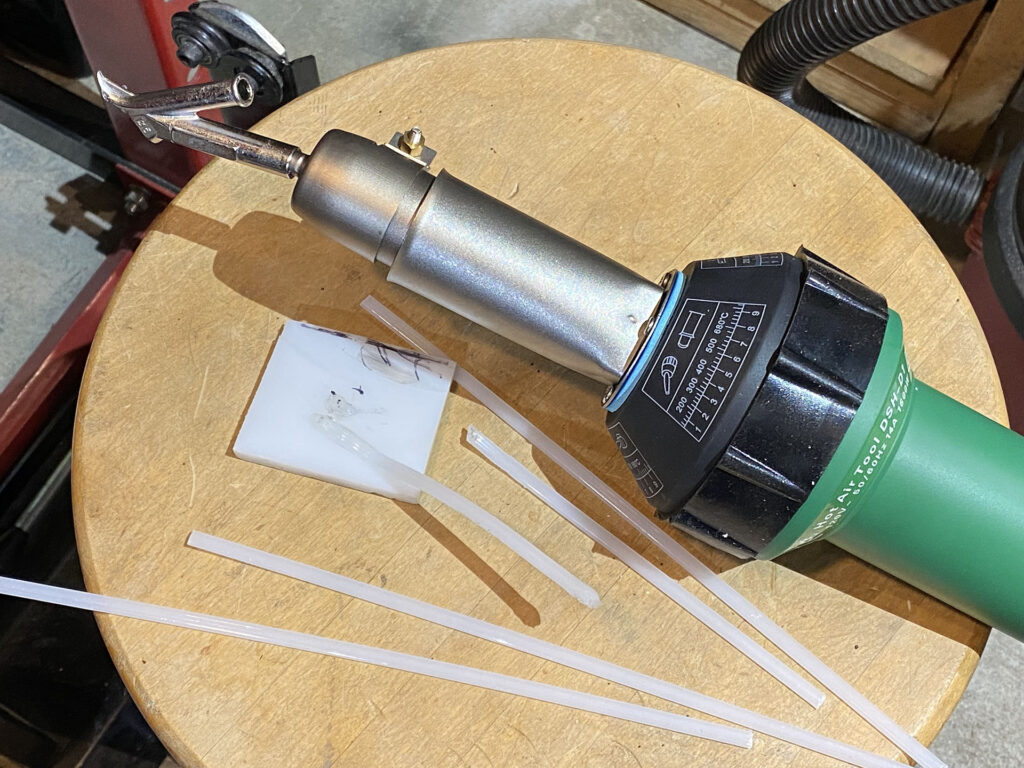
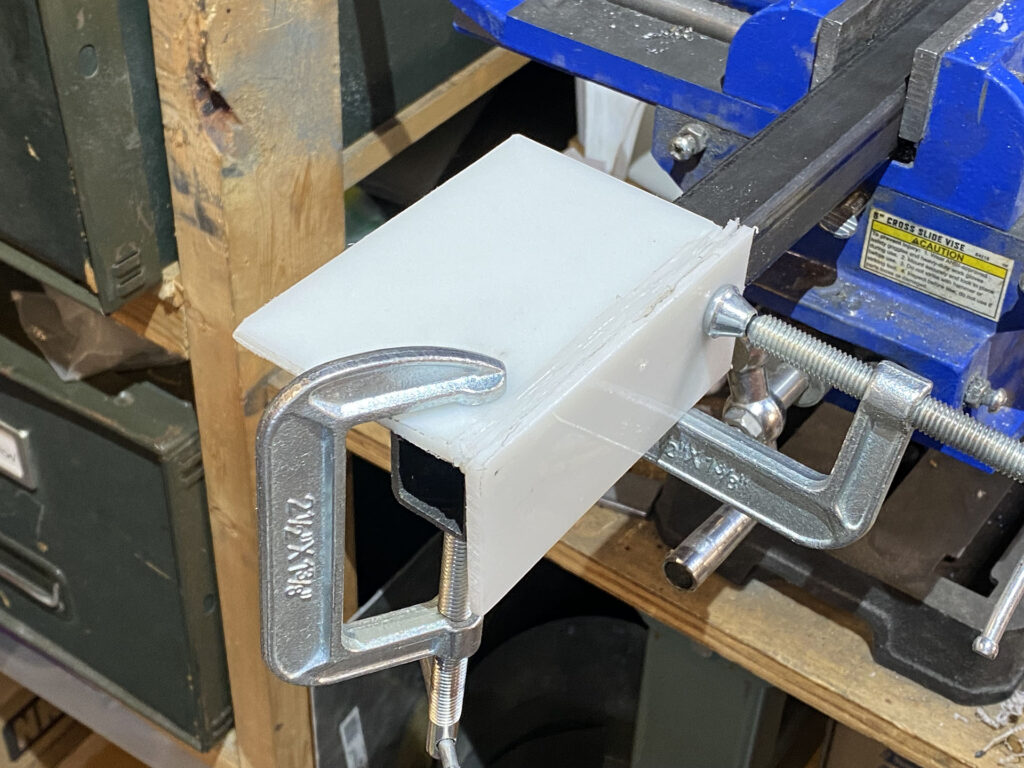
I have a hot-air plastic welding gun and I keep a pretty good stock of HDPE (high density polyethylene) plastic on hand. I’d already had the idea of making non-conducting mounts when it occurred to me that I could simply make the whole box out of plastic sheet. There’d be no need to line it, and plastic is so much easier to fabricate than steel. I dug out a big scrap sheet of HDPE that had been a pistol target backer in a previous life, but still had some unperforated sections that I could use.
If you’ve never used a plastic welder, it’s a pretty slick process. They’re not very expensive and it’s not hard to learn; you just need a bit of practice to learn the proper temperature and speed. And always make sure you’re using the correct filler rod.
Like so many things, success mostly comes down to decent prep and proper jigging.
Once I had a box, the next step was mounting it.

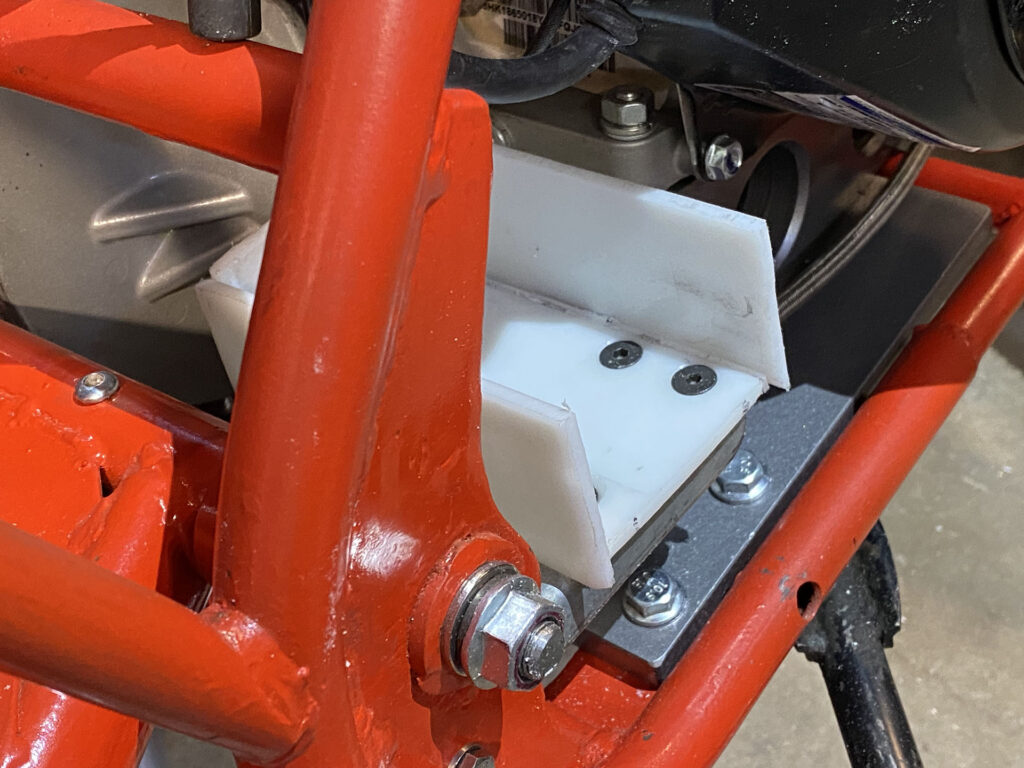
The battery box mounts to the bike in three places. In the image below, you can see two of them. A steel angle support bolts through an existing hole in the frame right below the swingarm pivot on the right, and the inboard rear corner is supported by a post that clamps to the lower frame tube.

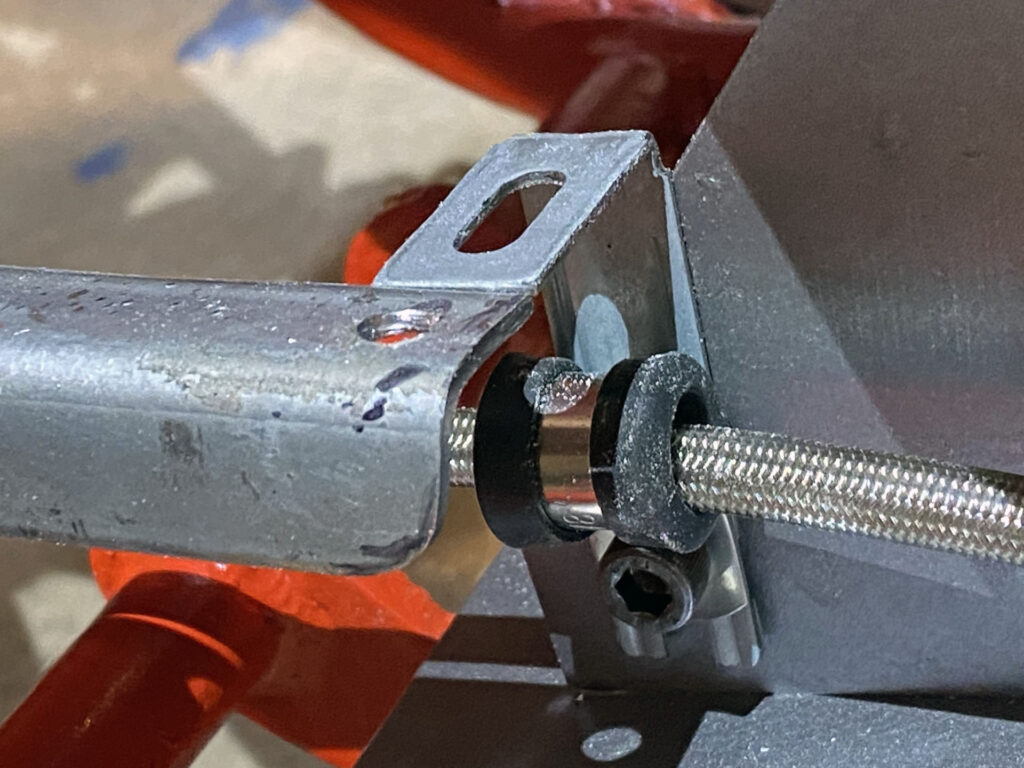
The third mount is at the right front, where an angle bracket mounts to the same bolt as the rear brake line guide.
I’m using countersunk allen screws that are flush with the tray floor.
It might get too much engine heat as it is now. After getting everything mounted, I realized that battery could be moved slightly lower and more rearward. The current location was determined solely because of the position of the existing hole in the frame.
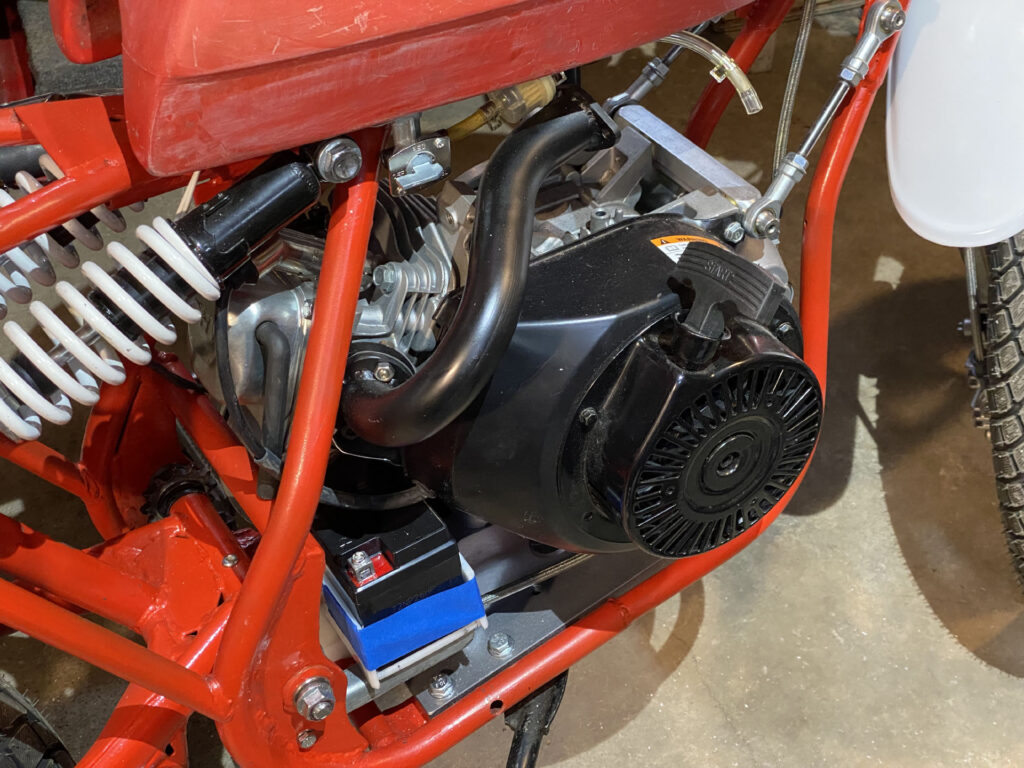
I still need to make some sort of door or strap, but a bit of painter’s tape will suffice for now. I’ve got a solidly mounted battery, so I can get on with making up a wiring harness and configuring the electrical equipment.