I ordered a selection of bushing stock and roller bearings off Ebay, in hopes of finding something that would suit my modified swingarm pivot. While I was waiting 1–2 weeks for $100+ worth of stuff to arrive, it occurred to me that I own a lathe. Why not fashion my own bushings from raw stock? I bought some 1.5″ diameter acetal copolymer rod off Amazon for $20, with next-day delivery. I did some measuring, sketched up my dimensions, and set to work.
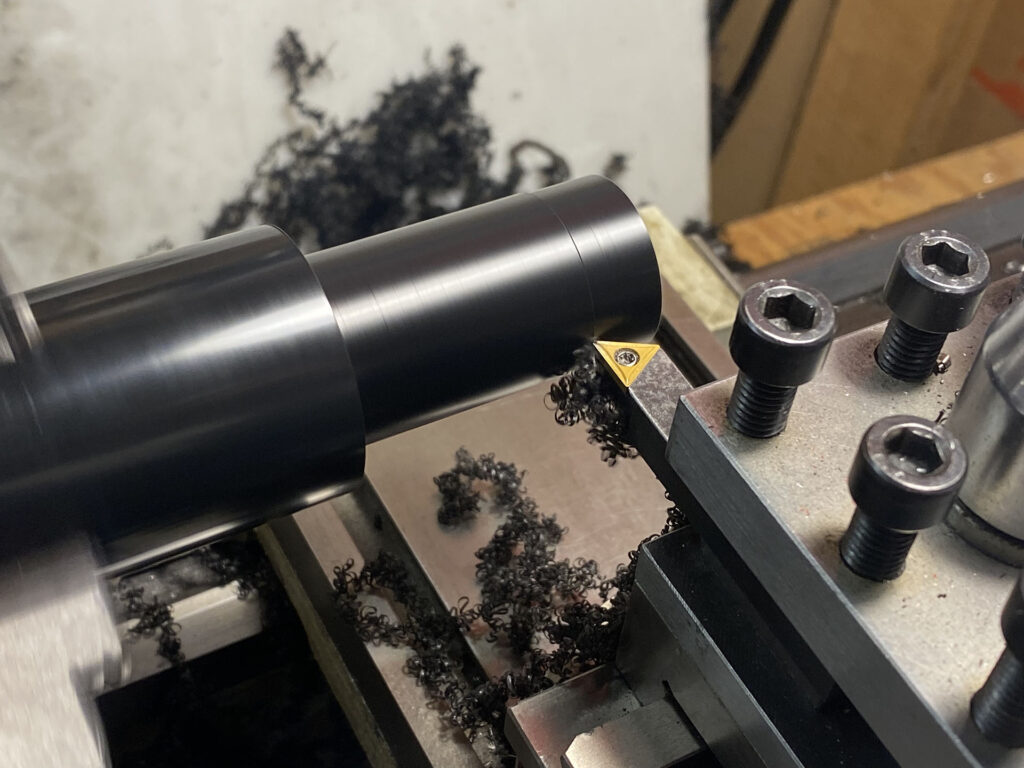
I’d never turned acetal C before, but I had worked with HDPE and comparatively, this stuff is amazing. It machines just like alloy, except that you can make much bigger bites on each pass. Unlike HDPE, it doesn’t deflect or get mushy. I took it really slowly, creeping up on my numbers and test fitting for tolerances, because I wasn’t sure how much compression would play into the fit once it was pressed into the pivot tube.
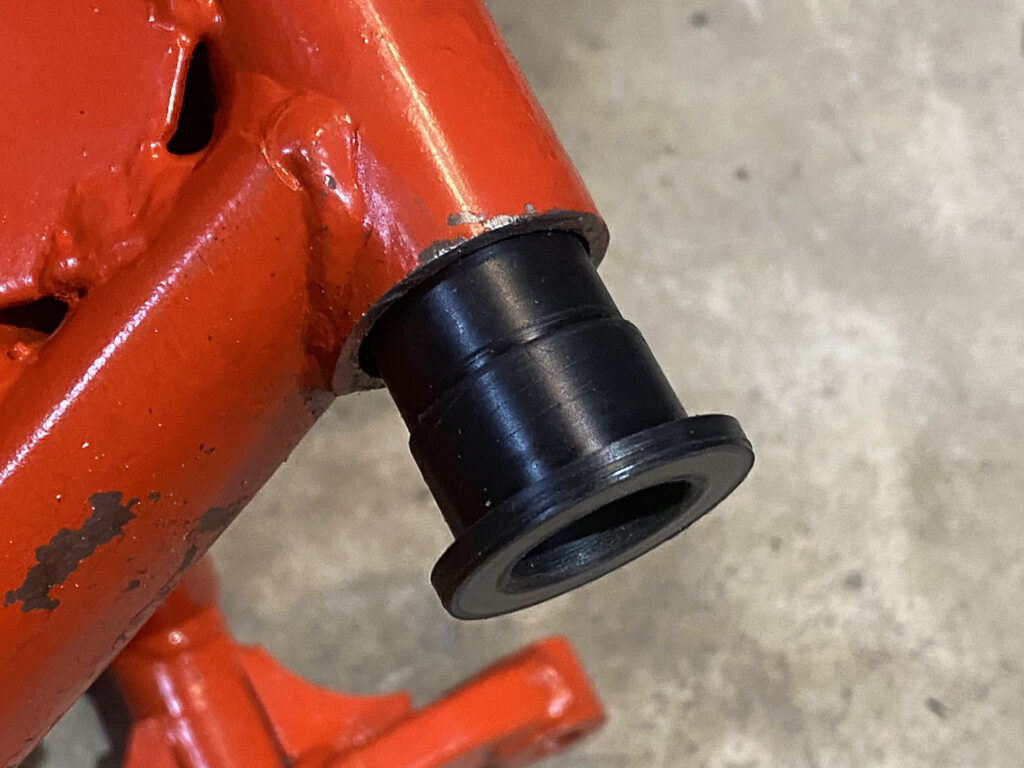
I started with the left (drive) side, thinking that would be the easier of the two bushings to make, but it turned out to be somewehat problematic. My idea of extending the bushing beyond where the pivot tube ID had been machined for a bushing was a bigger issue than I thought. The tube had a pronounced welding seam inside, and even when that was removed, it was nowhere near round. I could press everything together, but the bush was obviously way off center at the other side of the swingarm. Hmmm. I then removed the flange from one of the original Yamaha bushes and pushed it into the other side of the swingarm as far as it would go. When I inserted the inner bearing sleeve, it wouldn’t turn at all. I eventually removed my homemade bush and filed down about a 60° section of the smaller OD until I got it to fit correctly.
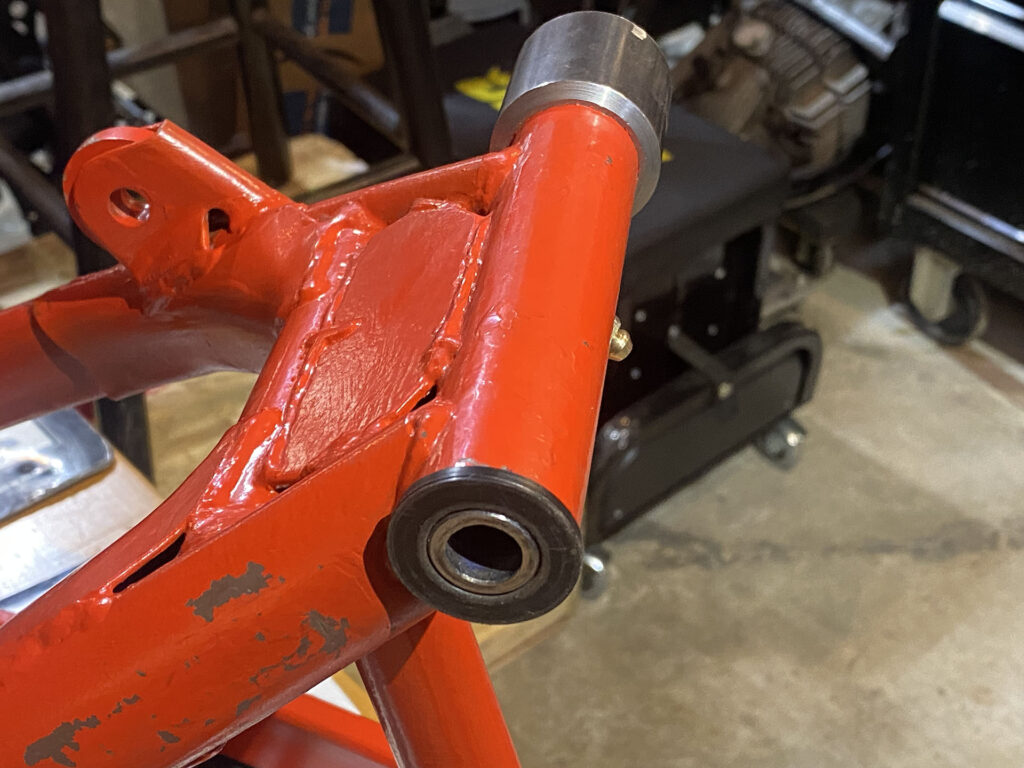
My dial indicator measured between 0.001″–0.002″ radial play, depending on where I positioned it. That’s similar the original bushings and totally acceptable.
The pictures also show that my super-durable engine paint didn’t turn out to be so durable after all. The frame needs some touch-ups, and the whole swingarm will get a second coat of paint.
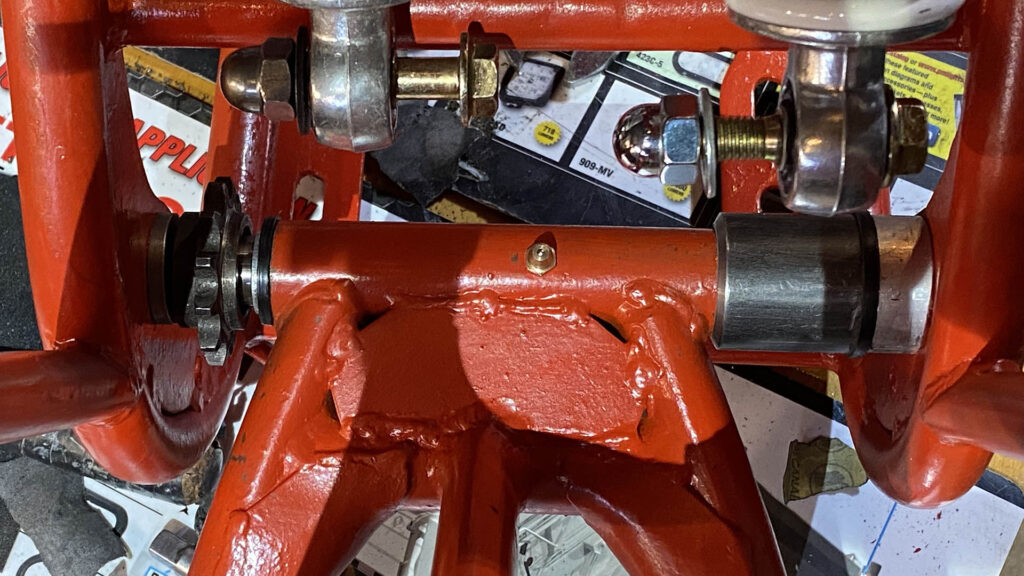
I then turned my attention to the right side of the swingarm. The 18mm ID x 25mm OD bronze bushings I ordered had arrived. Out of the box, they were a beautiful slip-fit on the Yamaha inner bushing sleeve. So I pressed one of the bushings into the swingarm to see how well it might work. It was too tight, of course, but I measured how much the ID constricted, and it was a lot! (Between 0.020″–0.030″.) And when I pressed it back out, the dimensions stayed compressed. So chucked it up and brought the ID back to spot on, then took a similar amount off the inside of another bronze bush. I pressed them both into the right side, one after the other, which which took up most of the depth available, and the outer one bridged the joint between the two sections. Individually, the clearance on both bushings felt perfect, but once the inner sleeve engaged all three bushings, it wouldn’t turn easily. Fortunately, a couple of well-placed whacks on the pressed-on section with a hammer brought everything into alignment.
Since the bronze bushes aren’t flanged, I still needed a spacer/thrust washer to fit over the last bit of inner sleeve length. I made a 0.1″ thick disk out of the acetal-C. Once I sanded it down to about 0.095″, that did the trick. It now butts up against a similar diameter spacer I made to fill the extra width between the swingarm and frame on the right side.
It was time to bolt it all together in the frame. It took me a couple attempts to remember where all the spacers and collars were supposed to go, but I got it all in place and…the swingarm could be wiggled, noticeably. WAAAA? Where was the play coming from? Did I make the poly bushing too sloppy? Was something compressible somewhere? Was—
Oh, wait. It helps if you cinch the swingarm bolt up tight. Ahhhhh. Perfect: It rotates easily with not a hint of wiggle.
One slight issue with this hybrid arrangement that you are not supposed to use grease around oil-impregnated bushings, but you are supposed to grease polymer bushings. I plan to just grease the left side bush liberally upon final assembly, and replace that zerk fitting in the middle with a 6mm button head screw, so I don’t forget and do something stupid down the line.
Compared to the sketchy arrangement I had previously, I am much more confident in this configuration. It’s now plenty robust. I’m glad I put in the extra work to get it right.