In preparing to tack-weld my fuel tank bracket into place, it was apparent to me that once the fuel tank was in place, even slightly inaccurate placement would get magnified into noticeably wonky misalignment of the tank. The correct approach is to first get the tank positioned correctly, relative to the frame, and let that dictate the precise alignment of the bracket. Before welding anything, I had to make up the rest of the tank mounting hardware. Mounting this tank to this frame is slightly problematic. The late ’70s Can-Am Qualifier this tank comes from had a very large frame backbone. Furthermore, I’m mounting the tank much higher on the frame than the original application. As a result, the gap between my frame and the tank tunnel is significant, requiring some large spacers. Since the angle of the tank tunnel and the backbone of my Shin San Tong frame are different, the space under the tank is greater at the rear than the front.
With a plastic tank, whatever touches it has to be softer than the tank material itself, to avoid abrading the plastic. Many years ago, I bought several rolls of 1/2″ thick, 4″ wide, medium-density nitrile rubber. I’m guessing it’s durometer is about Shore 70A. It should be perfect for this application. I decided to use two pieces of rubber, mounted vertically: one at the front and one at the rear. I did some measuring and eyeball-engineered the shapes I needed.
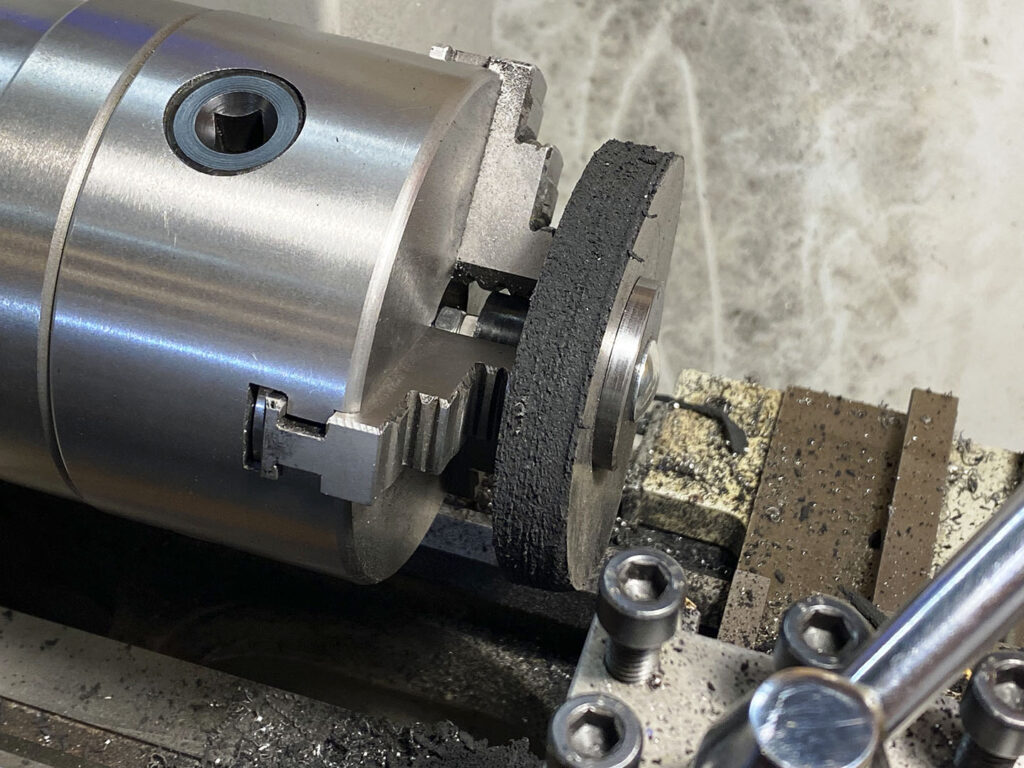
Rubber of this density is typically pretty hard to cut accurately. Using a razor or Xacto blade usually results in a series of jagged slices. A scroll saw can work well — but I don’t have one. However, since the forward rubber block is basically round, what if I used my lathe for that one? It was worth a shot. I cut a piece of nitrile sheet to the approximate size with a hack saw, drilled a center hole, and made up a makeshift mandrel. Surprisingly, an ordinary carbide tip cut the rubber fairly easily, distorting under the tool much less than I expected.
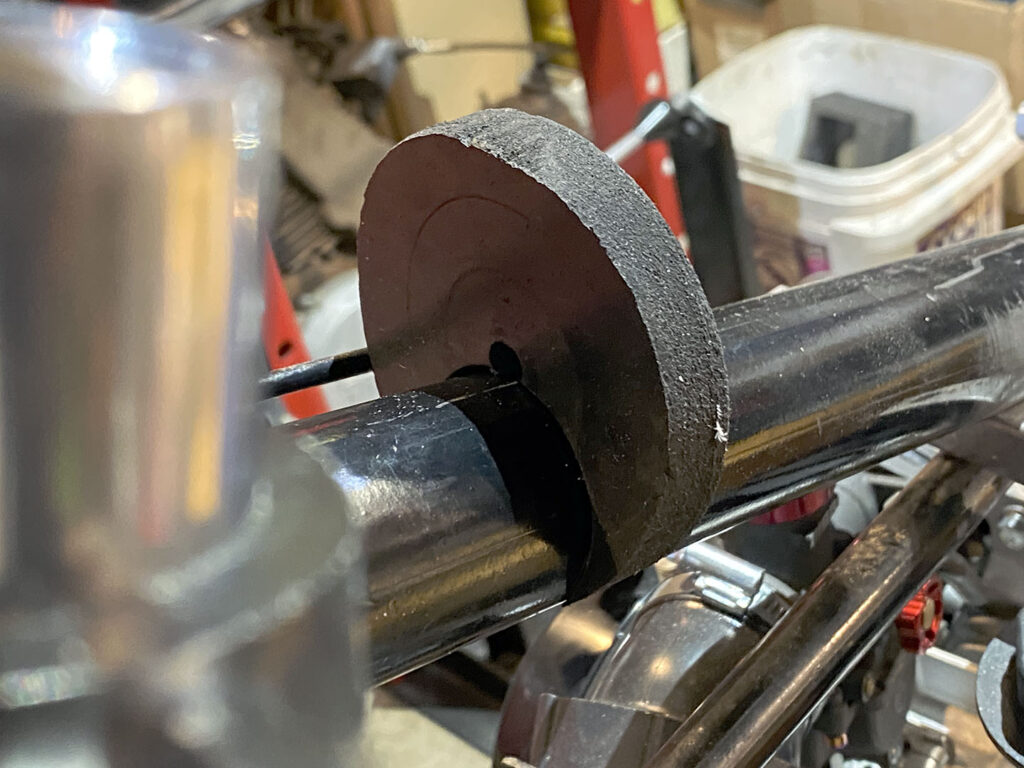
I then put the rubber disc in the vice and cut the relief for the frame tube with my hand drill, using the same hole saw I used to fit the metal cross brace to the frame. The result is not a thing of beauty, but I mounted the tank and it fits very well. This is what I have so far:
I will need to ensure that the rubber stays in place during and after installation of the tank. I briefly considered gluing the rubber to the frame, but that feels iffy, so my current plan is connect the two rubber spacers mechanically. Once I get the second spacer made up for the rear (a slightly more involved shape), I can bolt a threaded rod between the two of them, with some oversized washers on either side of each rubber mount to prevent flexing. This should ensure that they stay aligned to each other and perpendicular to the frame tube, but nothing but rubber contacts the tank.