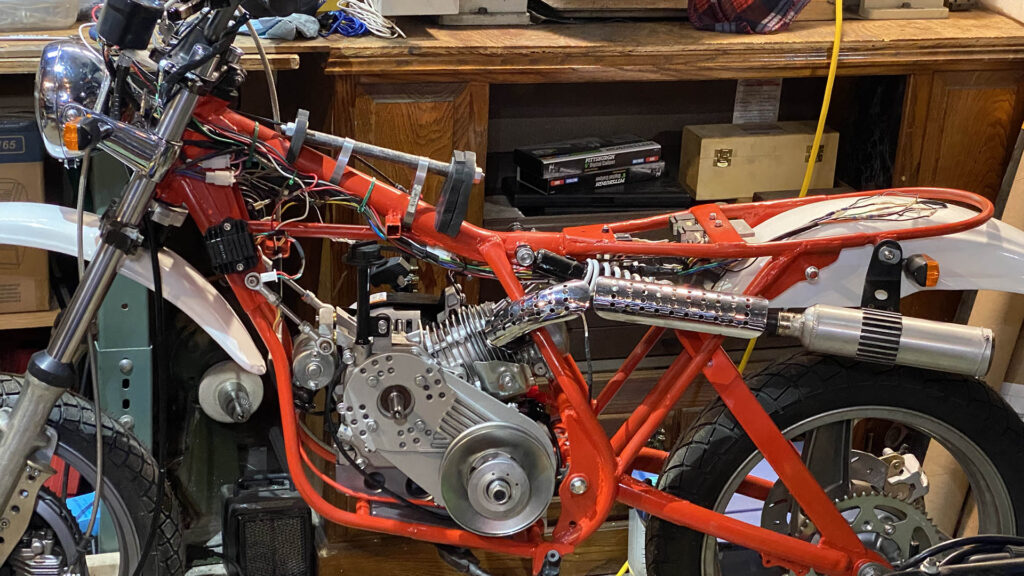
With a the exception of a couple of tweaks here and there, The Bride’s electrical system is complete. All the lighty-up parts light, the horn beeps, the relays…relay, the starter turns, and the indicators indicate. The only thing still unverified is whether the charging system will replenish the battery’s supply of electrons. Fortunately, the ignition is self-engergizing and totally separate from my spaghetti art. Thus, even should the regulator-rectifier melt the wiring, fry the starter motor, and short out the battery, I won’t be left totally stranded. (Well, in the worst case scenario, the whole bike could be engulfed in flames, so I might have that to look forward to.)

One of the wiring skills that comes with experience is knowing how long to make wires. I was super nervous about ending up with wires that were too short (with good reason in a couple of instances), so I left a lot of my wires excessively long. Furthermore, I was wiring up and testing one component at a time, so I didn’t always tap into the switched power and ground circuits as efficiently as I might have if I was building the whole harness at once. As a result, my wiring displays the same orderliness of a 1970s Moto Morini. The messy appearance is compounded by the lack of any sort of sleeve or loom over the main bundle of wires. At this point, I want the ability to easily trace, diagnose and replace individual leads if something goes awry.

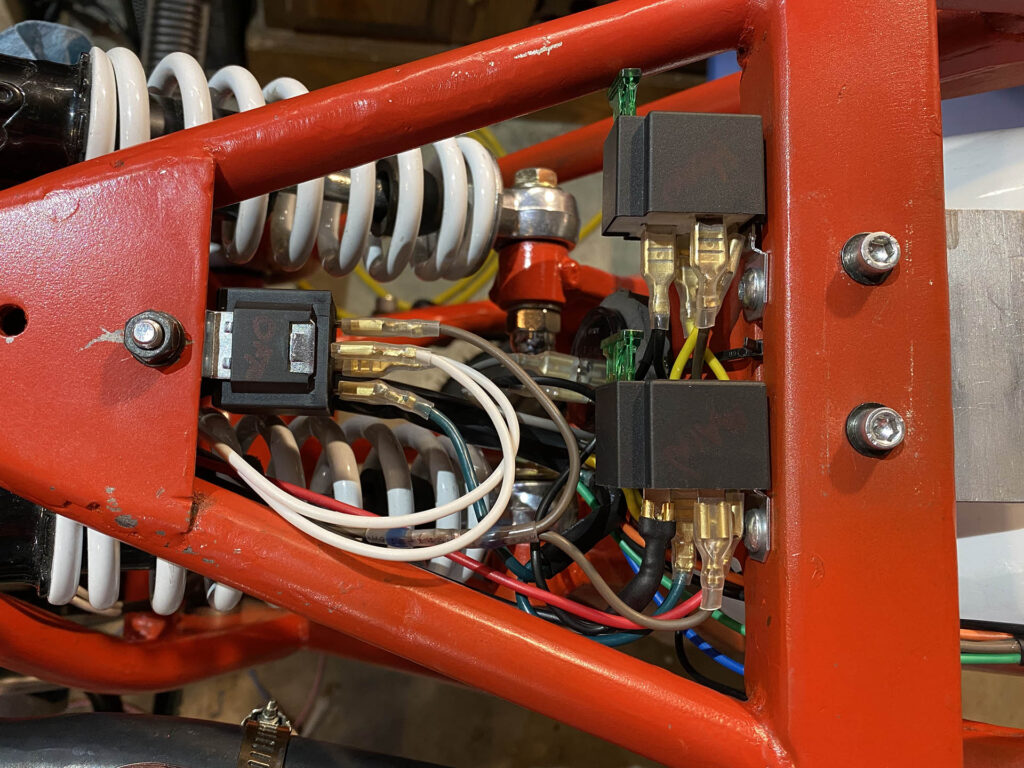
Some parts came out reasonably clean and crisp…

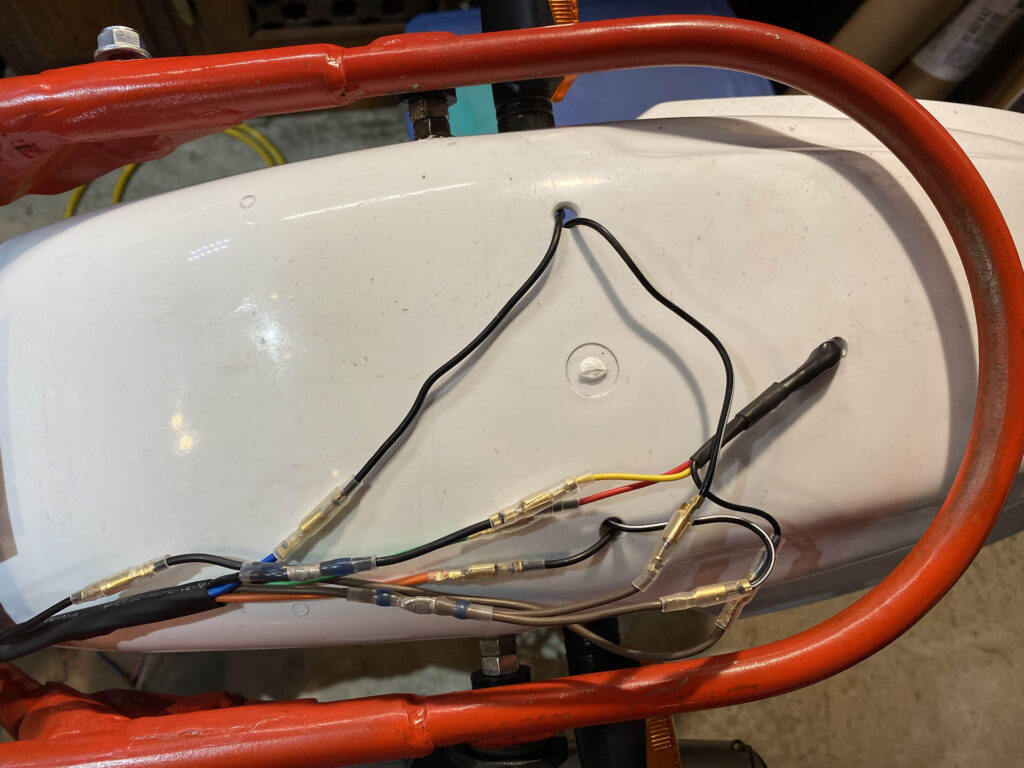
…while other parts are reminiscent of a 3-year-old’s crayon scribbles.
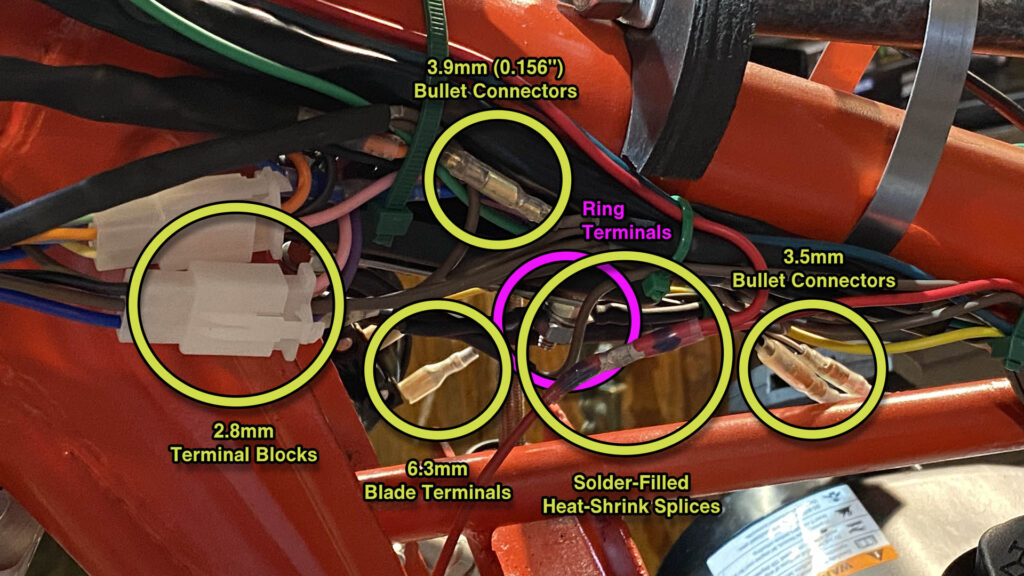
And since the components came from a variety of sources, I had to use a bunch of different connector types. I have a whole box of slicone-sealed AMP weatherproof connectors, but I decided that there’s little likelihood of this bike spending appreciable time in rain, mud, or salty roads.

Could it the whole system be better executed? Yes. But is it functional? Yes! Will be reliable over time? Probably, given the bike’s expected use.
That’s good enough for me.